


HOW TO: INSTALL PEEL & STICK REMOVABLE WALLPAPER AND WALL DECALS

Introducing our NEW Happy Home line featuring peel and stick Wallpapers and Wall Decals. Happy Home was designed to help creative minds make inspiring spaces. We were inspired by our planning community and all the beautiful spaces you’ve shared with us over the years. We LOVE seeing your DIY projects and planner rooms, so we’ve decided to create something special that fuels our mutual passion for expressing creativity!
GATHER YOUR SUPPLIES
- Wallpaper or decals of choice
- Cleaning cloth or sponge
- Mild cleanser
- Pencil
- Straightedge/ruler
- Plastic smoothing tool
- Utility knife

STEP 1: PREPARE YOUR SURFACE
Get your wall ready by removing outlet covers, light switch plates, and anything else that might get in the way. Next, clean the surface with a cloth/sponge and use a mild cleanser. Wait until your surface is completely dry (about 24 hours to be safe) to move onto application.
STEP 2: CREATE A GUIDELINE
Whether you choose to apply your wallpaper vertically or horizontally, use a pencil and measure a straight edge along your wall (where your first strip should align) to use as a guideline for application. This will make it easier to apply your first strip of wallpaper straight.
STEP 3: WALLPAPER TIME
Begin to unravel your roll and remove the adhesive backing a little at a time. Press and smooth the wallpaper against the wall, peeling the remaining backing as you make your way down. Use your plastic smoothing tool and run it along the wall as you go. Tip: Use downward strokes to get out any air bubbles! When you make your way to the end of the wall, cut the excess of the roll so you can start on your next section.
Featured: Amanda Blue | Wallpaper
STEP 4: REPEAT
Align your next roll of wallpaper making sure to match up your design. Slightly overlap to your previous line to ensure there are no gaps between this second application. Use the smoother to flatten the seam as much as possible so you don’t see where the new roll begins. Repeat this step until you’ve completed your desired section!

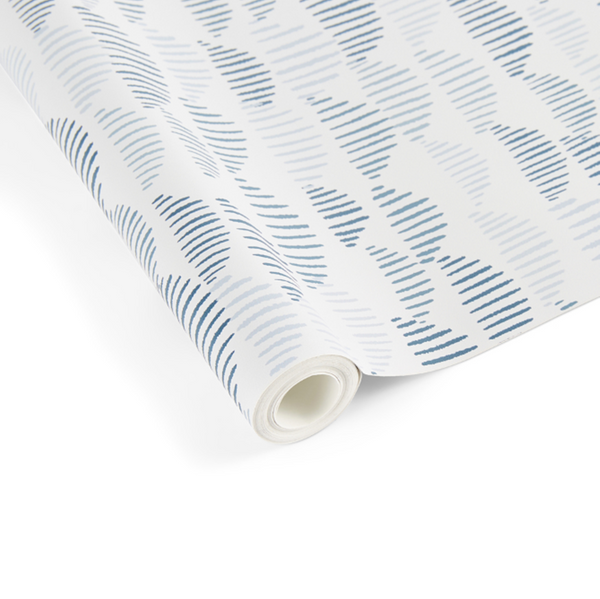
Featured: Billon Dots | Wallpaper
STEP 5: THE DETAILS
When you get to your wall outlet or light switch, cover the section with the wallpaper and go back to trim the excess when you’ve completed your wall. Be sure to turn off your power before doing this (we don’t want any accidents)! Once complete, you can return the outlet covers and switch light plates. Do one last check for any air bubbles and make sure to smooth those out.
FOR WALL DECALS
This will be a similar process! Be sure to clean your desired surface as you would for the wallpaper. Then peel and stick the decal and be sure to remove any air bubbles along the way.

Featured: Kristin Colorful Blooms | Wall Decals
INSPIRATION
We can’t wait to see where your creativity takes you with this new line. To get your mood board going, we wanted to share ways to use our wallpapers and wall decal stickers!
AS AN ACCENT WALL

Featured: Jess Blooms | Wallpaper
FOR THE PLAYROOM OR NURSERY

IN THE KITCHEN

BEYOND THE WALLS

Thank you for joining us on this journey as we take creativity and organization to new places. Please share all your home inspiration and chat with us on social @the_happy_planner! See you there!
Leave a comment